

Honeywell 9000 Installation Manual: A Comprehensive Plan (as of 12/13/2025)
This manual details the Honeywell 9000 installation process, offering a user agreement review and wiring diagram guidance for a seamless experience.
Welcome to the future of home comfort! The Honeywell 9000 represents a significant advancement in smart home climate control, offering unparalleled precision and convenience. This system is designed for ease of use, yet boasts powerful features for optimizing energy efficiency and personalizing your indoor environment.
Before beginning installation, carefully review this manual and the included user agreement. Understanding the system’s capabilities and limitations is crucial for a successful setup. The Honeywell 9000 integrates seamlessly with the Honeywell Home app, providing remote access and advanced scheduling options. Prepare to unlock a new world of possibilities!
Unboxing and Component Verification
Carefully unpack the Honeywell 9000 system, ensuring all components are present and undamaged; This step is vital before proceeding with installation. Refer to the Package Contents Checklist to verify you have received everything listed. Inspect each item for any signs of shipping damage – report any issues immediately to your retailer.
Familiarize yourself with each component; proper identification is key. Missing or damaged parts can delay installation. Retain the original packaging for potential returns or warranty claims. A thorough unboxing and verification process ensures a smooth and trouble-free setup experience.

Package Contents Checklist
Verify the following items are included in your Honeywell 9000 package: 1x Control Panel, 1x Thermostat (if applicable), 1x Wiring Harness, 1x Mounting Plate & Screws, 1x Power Adapter, 1x Installation Manual (this document), and 1x Quick Start Guide.
Additionally, confirm the presence of any optional accessories purchased separately. Carefully cross-reference this list with your invoice. If any items are missing or appear damaged, immediately contact Honeywell support or your point of purchase for assistance. Do not proceed with installation until all components are accounted for.
Identifying System Components
Familiarize yourself with the Honeywell 9000’s key parts: The Control Panel houses the system’s processing unit and connects to your HVAC equipment. The Thermostat (if included) provides user interface for temperature control. The Wiring Harness facilitates electrical connections.
The Mounting Plate ensures secure panel installation. The Power Adapter supplies necessary electricity. Carefully examine each component, noting port locations and labeling. Refer to diagrams within this manual for visual identification. Understanding these components is crucial for a successful and safe installation process.
Safety Precautions & Warnings
Prioritize safety during Honeywell 9000 installation! Always disconnect power at the breaker before wiring. Incorrect wiring can cause electrical shock or fire. Wear appropriate safety glasses and gloves. This system should only be installed by a qualified HVAC technician.
Do not attempt repairs beyond the scope of this manual. Improper handling of components can lead to damage. Keep small parts away from children. Follow all local electrical codes. Ignoring these warnings could result in serious injury or property damage. Read the entire manual before beginning.
System Requirements & Compatibility
Ensure compatibility before installing the Honeywell 9000. This system requires a common “C” wire for consistent power. Verify your existing HVAC system supports a 24VAC control circuit. The 9000 is compatible with most gas, electric, and heat pump systems, but some older models may require adapters.
Confirm your home network meets the Wi-Fi requirements for app integration. A stable 2.4 GHz Wi-Fi connection is necessary. Check voltage and gauge requirements for proper wiring. Incompatibility can lead to malfunction; consult a professional if unsure.
Wiring Requirements (Voltage, Gauge)
Proper wiring is crucial for Honeywell 9000 operation. The system operates on standard 24VAC. Use 18-22 gauge thermostat wire for reliable connections. A common (“C”) wire is essential for consistent power; 18 gauge is recommended for longer runs. Ensure all connections are secure and insulated to prevent shorts.
Verify your HVAC system’s voltage matches the thermostat’s requirements. Incorrect wiring can damage the system or void the warranty. Always disconnect power before working with wiring. Consult a qualified electrician if you are unsure about any aspect of the wiring process.
HVAC System Compatibility
The Honeywell 9000 is designed for broad HVAC compatibility. It supports most 24VAC heating and cooling systems, including gas, oil, electric, and heat pumps. However, compatibility with millivolt systems is limited. Confirm your system utilizes a standard thermostat wire configuration (R, C, W, Y, G).
Systems with proprietary communication protocols may require an adapter. Check the Honeywell website for a compatibility list or contact support. Improper installation on an incompatible system can cause malfunctions or damage. Always verify compatibility before proceeding with installation.
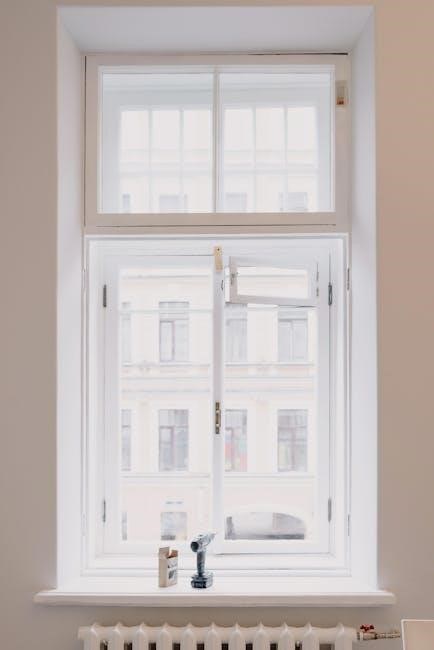
Mounting the Honeywell 9000 Control Panel
Securely mounting the control panel is crucial for optimal performance. Choose a central location within your home, ensuring proximity to both the HVAC system and a readily accessible power outlet. Avoid direct sunlight, moisture, and areas prone to extreme temperatures.
The panel should be mounted on a flat, stable surface using the provided screws and anchors. Maintain adequate clearance around the panel for ventilation and wiring access. Incorrect mounting can lead to connectivity issues or system failures.
Location Considerations (Proximity to HVAC, Power)
Optimal placement significantly impacts system functionality. Prioritize a location near your HVAC equipment to minimize wiring runs and signal loss. Ensure easy access for future maintenance and troubleshooting. A nearby power outlet is essential, eliminating the need for extension cords.
Avoid areas with potential interference, like large metal objects or wireless devices. Consider the aesthetic impact and choose a discreet, yet accessible, spot. Proper location planning streamlines installation and ensures long-term reliability.
Wall Mounting Procedure
Secure mounting is crucial for stable operation. Begin by marking the desired location on the wall, ensuring it’s level. Utilize the provided mounting template for accurate drill hole placement. Employ appropriate wall anchors based on your wall type – drywall, plaster, or concrete.
Carefully align the control panel with the anchors and secure it using the supplied screws. Avoid over-tightening, which could damage the panel or wall. Double-check stability before proceeding with wiring. A firmly mounted panel prevents vibrations and ensures reliable performance.
Wiring the Honeywell 9000
Precise wiring is essential for correct functionality. Before commencing, always disconnect power to the HVAC system at the breaker. Refer to the wiring diagram included with this manual and your HVAC system’s documentation. Carefully connect the wires to the designated terminals on the Honeywell 9000 control panel.
Ensure each connection is secure and that no bare wires are exposed. Incorrect wiring can cause system malfunction or damage. Double-check all connections before restoring power. A professional electrician is recommended if you are unsure about any aspect of the wiring process.
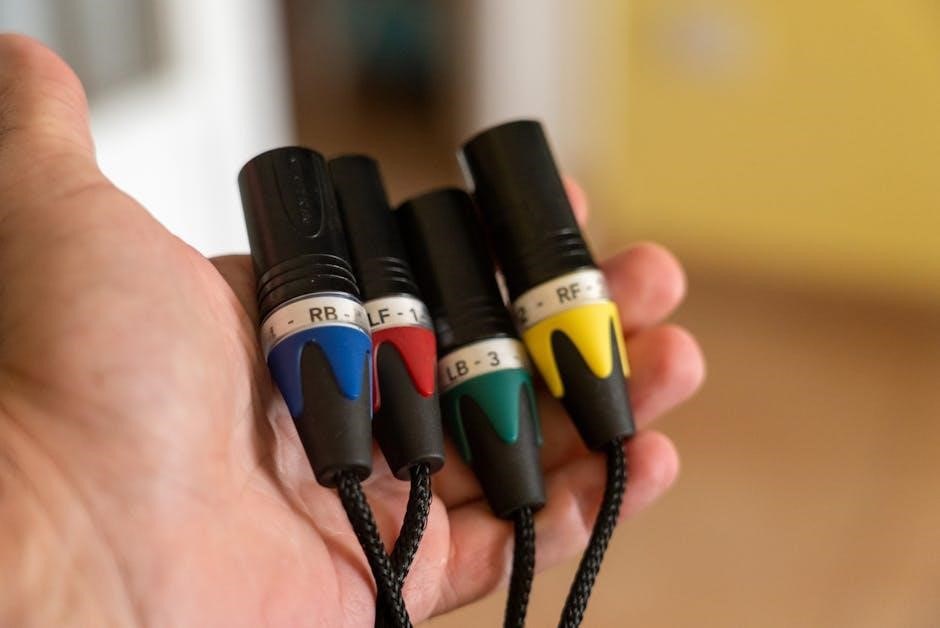
Connecting the Thermostat Wiring (R, C, W, Y, G)
Identify the thermostat wires according to their standard designations: R (Power), C (Common), W (Heat), Y (Cooling), and G (Fan). Carefully connect each wire to the corresponding terminal on the Honeywell 9000’s terminal block.
Ensure a snug fit for each connection. Incorrect wiring can lead to system errors. If your existing thermostat lacks a C-wire, a C-wire adapter may be required – consult a qualified HVAC technician. Double-check all connections against your existing thermostat’s wiring before proceeding.
Connecting to HVAC Equipment (Furnace, AC)
After thermostat wiring, connect the Honeywell 9000 to your furnace and AC unit. Locate the control board within your HVAC equipment. Match the wires from the 9000 (corresponding to R, C, W, Y, and G) to the appropriate terminals on the control board.
Always de-energize the HVAC system at the breaker before making any connections. Securely fasten each wire to prevent loose connections. Verify proper voltage levels before restoring power. Incorrect connections can damage your HVAC system.
Wiring for Heat Pump Systems
Heat pump wiring differs from standard furnace/AC setups. Identify the O/B terminal on your Honeywell 9000 – this controls reversing valve energization. Connect the O/B wire from your heat pump to this terminal.
Confirm your heat pump’s wiring configuration (O or B) before connecting. Incorrect wiring can cause improper heating or cooling. Additionally, ensure proper connection of the auxiliary heat wires. Always double-check all connections and consult a professional if unsure.
Powering Up the System
After completing all wiring connections, proceed to power up the Honeywell 9000. Ensure the main power switch to your HVAC system is in the OFF position. Then, apply power to the control panel using the appropriate power adapter.
Observe the system for initial startup indicators, such as a lit display screen. If no power is detected, re-verify all wiring connections and the power adapter’s functionality. A successful power-up is crucial for subsequent configuration steps.
Initial System Configuration

Upon successful power-up, the Honeywell 9000 will prompt initial configuration. Begin by accurately setting the current date and time via the touchscreen interface. Next, configure the system type to match your HVAC setup – selecting from options like gas, electric, or heat pump.
Correct system type selection is vital for optimal performance. Confirm these settings before proceeding, as incorrect configuration can lead to operational issues. Save your changes to finalize the initial setup process and prepare for network connectivity.
Setting Date and Time
To accurately set the date and time, navigate to the “Settings” menu on the Honeywell 9000 touchscreen. Select “Date/Time” and utilize the intuitive up and down arrows to adjust the month, day, and year. Repeat this process for setting the hour and minute, ensuring AM or PM is correctly selected.
Precise timekeeping is crucial for scheduling features and accurate system logs. Verify the set date and time against a reliable source before saving. Incorrect settings will affect programmed schedules and potentially system functionality.

Configuring System Type (Gas, Electric, Heat Pump)
Accurate system type configuration is paramount for optimal Honeywell 9000 performance. Within the “Settings” menu, locate “System Type” and select the appropriate option: Gas, Electric, or Heat Pump. This selection informs the control panel how to manage heating and cooling cycles.
Incorrectly identifying your system can lead to inefficient operation or even damage. If unsure, consult your HVAC system’s documentation or a qualified technician. Save the setting after selection; a restart may be required for changes to take effect.
Network Connectivity (Wi-Fi Setup)
Establishing a Wi-Fi connection unlocks remote control and advanced features of your Honeywell 9000. From the main menu, navigate to “Network” then “Wi-Fi Setup.” The system will scan for available networks. Select your network and enter the password using the touchscreen interface.
Ensure a strong Wi-Fi signal for reliable connectivity. A successful connection is indicated by a Wi-Fi icon on the display. Troubleshooting steps are available within the menu if the connection fails. This enables Honeywell Home App integration.
Honeywell Home App Integration
The Honeywell Home app enhances your control over the 9000 system. After successful Wi-Fi setup, download and install the app from your device’s app store (iOS or Android). Create an account or log in if you already have one.
Follow the in-app instructions to pair your 9000 thermostat. The app will guide you through a simple process, often involving scanning a QR code or entering a unique system ID. Remote access, scheduling, and advanced settings are now available!
Downloading and Installing the App
To begin app integration, navigate to your smartphone’s app store – the Apple App Store for iOS devices or Google Play Store for Android. Search for “Honeywell Home” and locate the official application developed by Resideo. Ensure it’s the correct app to avoid potential security risks.
Tap “Install” and allow the app to download and install on your device. Once completed, tap “Open” to launch the Honeywell Home app. You’ll be prompted to create a new account or log in with existing credentials.
Pairing the 9000 with the App
With the app open and an account established, initiate the device pairing process. Select “Add a Device” within the Honeywell Home app, and choose “Thermostat” from the available options. The app will guide you through a series of steps, likely involving putting the 9000 into pairing mode – consult the control panel’s display for instructions.
The app may request Bluetooth permissions or ask you to scan a QR code located on the thermostat. Follow the on-screen prompts carefully to complete the pairing process and connect your 9000.
Programming Schedules & Settings
Once connected, leverage the Honeywell Home app to create personalized heating and cooling schedules. Define different temperature settings for various times of the day and days of the week, optimizing comfort and energy savings. Explore features like geofencing, which adjusts temperatures based on your location.
Within the app, you can also customize settings such as fan control, swing mode, and temperature display preferences. Experiment with these options to tailor the system to your specific needs and maximize efficiency. Regular schedule adjustments can yield significant cost reductions.
Troubleshooting Common Installation Issues
Encountering problems? First, verify power supply to the control panel – check the breaker and wiring connections. If the thermostat isn’t communicating, ensure proper wiring to the HVAC system and confirm compatibility. Double-check the ‘R’ and ‘C’ wire connections, as these are crucial for power.
If issues persist, consult the Honeywell Home app for diagnostic tools and error code explanations; A complete reset to factory defaults can sometimes resolve complex problems. Remember to document all troubleshooting steps taken before contacting support.
No Power to the Control Panel
If the control panel displays no power, begin by verifying the circuit breaker supplying power to the unit hasn’t tripped. Inspect the wiring connections at both the panel and the power source, ensuring they are secure and correctly installed. Confirm the correct voltage is being supplied, as specified in the system requirements.
Additionally, check the ‘C’ wire connection – a missing or loose ‘C’ wire is a common cause of power issues. If problems continue, consult a qualified electrician to rule out electrical faults.
Thermostat Not Communicating
When the thermostat fails to communicate with the control panel, first ensure proper wiring connections between the two units, specifically verifying the ‘R’, ‘C’, and thermostat wires are securely attached. Double-check the thermostat’s wiring diagram against the Honeywell 9000’s wiring scheme for compatibility.
Furthermore, confirm the thermostat is set to the correct communication mode and that no physical obstructions interfere with the signal. If issues persist, attempt a system reset or contact Honeywell support.
Advanced Features & Customization
The Honeywell 9000 offers extensive customization options beyond basic temperature control. Explore geofencing capabilities, automatically adjusting settings based on your location, and smart alerts for system anomalies. Utilize the scheduling feature for personalized comfort profiles throughout the week, optimizing energy efficiency.
Furthermore, integrate with other smart home platforms for voice control and automated routines. Delve into the advanced settings menu to fine-tune system parameters and unlock the full potential of your Honeywell 9000.
Resetting the Honeywell 9000 to Factory Defaults
Returning your Honeywell 9000 to its original factory settings can resolve persistent issues or prepare the unit for a new installation. Access the reset function through the advanced settings menu on the control panel. Be aware that this process will erase all personalized configurations, including schedules and network settings.
Confirm your decision, as the reset is irreversible without re-configuration. Following the reset, you’ll need to repeat the initial system configuration steps, including date/time setup and network connectivity.
Warranty Information & Support
Your Honeywell 9000 is covered by a limited warranty protecting against manufacturing defects for a specified period. Please retain your proof of purchase for warranty claims. The warranty does not cover damage resulting from improper installation, misuse, or unauthorized modifications.
For technical support, visit the Honeywell Home website or contact their dedicated support line. Online resources include FAQs, troubleshooting guides, and downloadable manuals. Warranty details and support contact information are also included in the product packaging.
Understanding Error Codes
The Honeywell 9000 utilizes error codes to diagnose system issues, displayed on the control panel or within the Honeywell Home app. These codes pinpoint problems ranging from wiring faults to communication errors with HVAC equipment. A comprehensive list of error codes and their corresponding solutions is available in this manual and online.
Refer to the error code table to identify the specific issue and follow the recommended troubleshooting steps. Ignoring error codes can lead to further system damage or inefficient operation. Contact support if you cannot resolve the issue.
Replacing the Battery
The Honeywell 9000 control panel requires a battery backup to maintain settings during power outages. A low battery indicator will appear on the display, signaling the need for replacement. Use only the specified battery type (refer to the specifications section) to avoid damage.
To replace the battery, carefully open the battery compartment (refer to diagrams). Remove the old battery and insert the new one, observing correct polarity. Proper battery replacement ensures continued operation and prevents data loss.
Updating System Firmware
Maintaining current firmware is crucial for optimal Honeywell 9000 performance and security. Firmware updates deliver new features, bug fixes, and enhanced compatibility. Updates can be performed via the Honeywell Home app or through a USB connection (if applicable).
Before updating, ensure a stable power supply and network connection. Follow the on-screen prompts carefully during the update process. Do not interrupt the update, as this could damage the system. Successful updates improve system reliability.
Disposal and Recycling Information
Responsible disposal of your Honeywell 9000 is essential for environmental protection. Do not discard the unit with general household waste. Electronic components contain materials requiring specialized recycling processes.
Check local regulations for designated e-waste collection centers or recycling programs. Honeywell encourages participation in these initiatives. Proper recycling prevents harmful substances from entering landfills. Refer to Honeywell’s website for detailed recycling guidelines and information on responsible disposal practices.
Frequently Asked Questions (FAQ)
Q: What if the system doesn’t power on? A: Verify the power supply connection and circuit breaker. Q: Can I use existing thermostat wires? A: Generally, yes, but check wire gauge compatibility. Q: Is professional installation required? A: While DIY is possible, professional installation is recommended for optimal performance.
Q: How do I reset the system? A: Refer to the “Resetting to Factory Defaults” section. Q: What if the app won’t connect? A: Ensure Wi-Fi is stable and credentials are correct.
Regulatory Compliance Information
The Honeywell 9000 adheres to FCC Part 15 regulations, requiring responsible use to avoid harmful interference. This device complies with industry Canada’s license-exempt RSS standards. Operation is subject to two conditions: it must not cause interference, and it must accept any interference received.
Furthermore, the system meets relevant safety standards like UL and CE certifications, ensuring product safety and performance. Detailed compliance documentation is available on the Honeywell Home website for review and record-keeping purposes.